Adobe Premiere Pro – Stacked Sequences
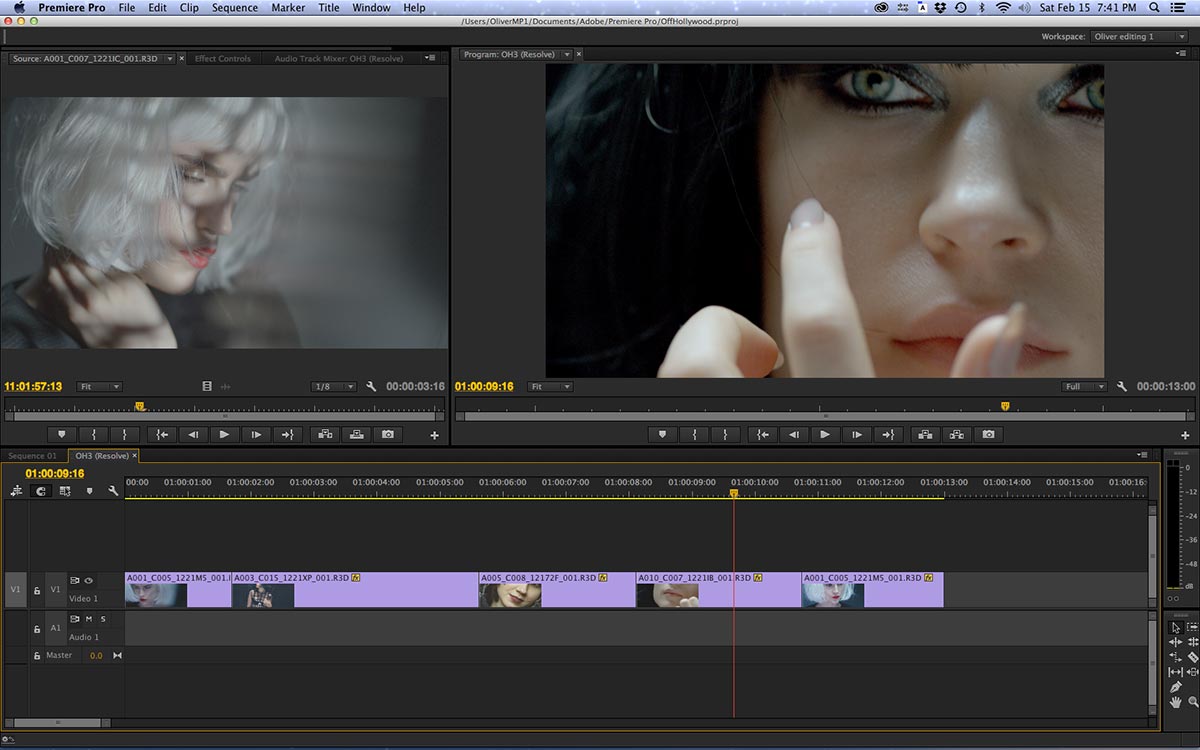
If you are used to editing in Adobe Premiere Pro or Apple Final Cut Pro “legacy”, then you are familiar with the concept of tabbed sequences. That is, you can have several open sequences, which each appear as a tab in the timeline window. This lets editor work between them, using copy and paste functions or compare one version of an edit to another. (Click images for an expanded view.)
Adobe’s interface design is based on dockable windows. In Premiere Pro, this means you can arrange the window layout in various custom workspace configurations that are conducive to your personal style or task needs. Sequences can be torn off into separate window elements. They may then be docked as a tab or embedded into any of four sides of the window as a separate pane within that window. Therefore, you can easily dock two sequences on top of each other within the same timeline window. When you do this, the focus of the sequence viewer and the effects control panel will follow whichever clip is selected by the editor in either sequence.
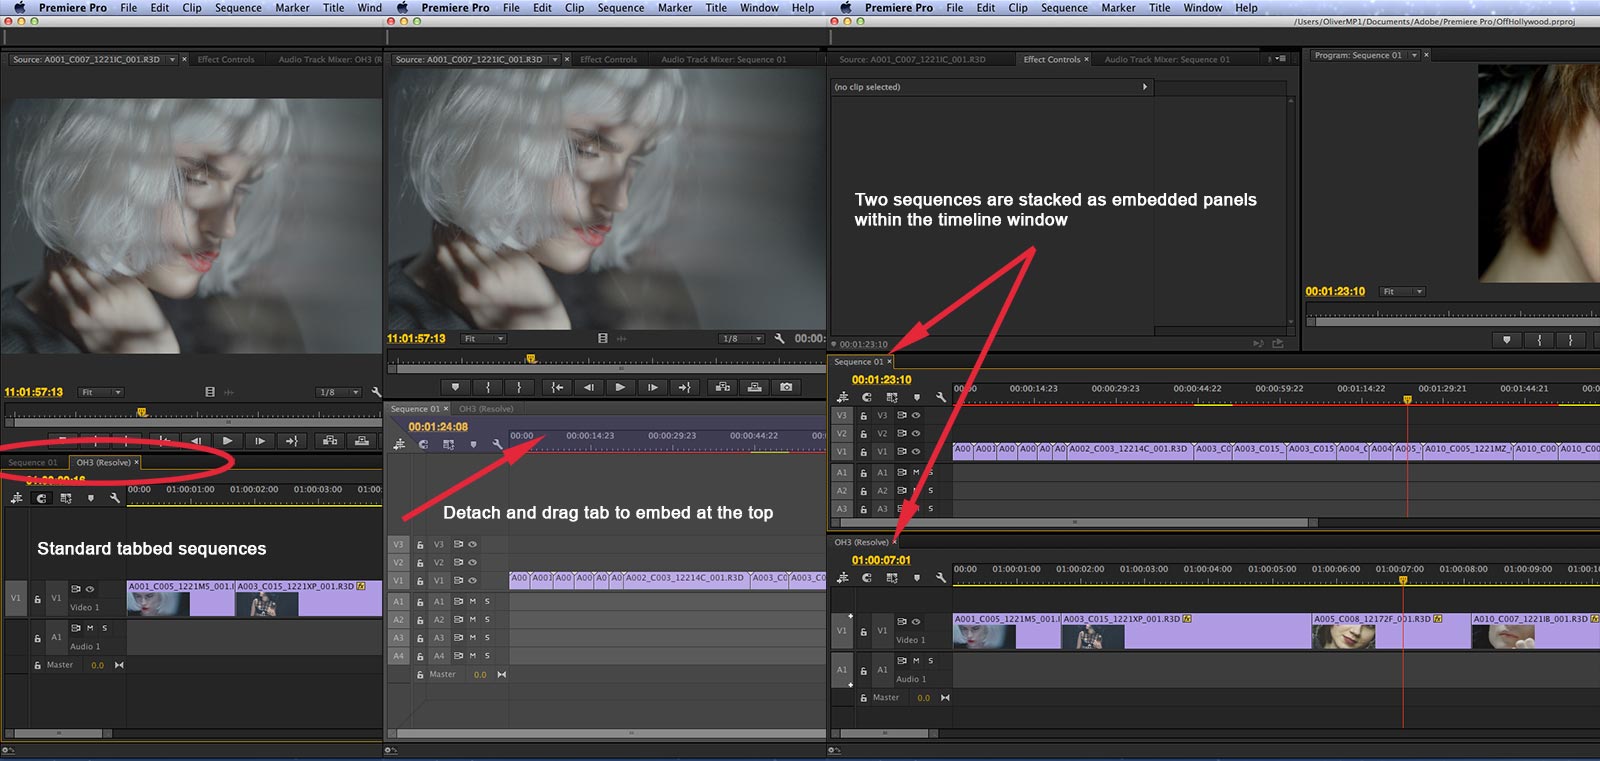 Let’s say that you like to work from a “selected takes” sequence to a second sequence that is a “cutdown” of these selects. Stack one sequence above the other and then simply drag a clip from sequence 1 to sequence 2. Or highlight a clip in sequence 1, copy it and paste it to sequence 2. This also makes it easy to re-arrange the order of clips from one sequence to the other, when building stories based on soundbite and voice-over elements.
In another example, you might have two versions of an edit, such as a long-form cut for the web and a :30 cut for commercial TV. Each will have the same effects applied to shots that are common to both versions. Stack the sequences and open the effects controls. As you click on a clip, the effects that have been applied are revealed in the control panel. Or you can apply new effects to that clip by adding them to this open window.
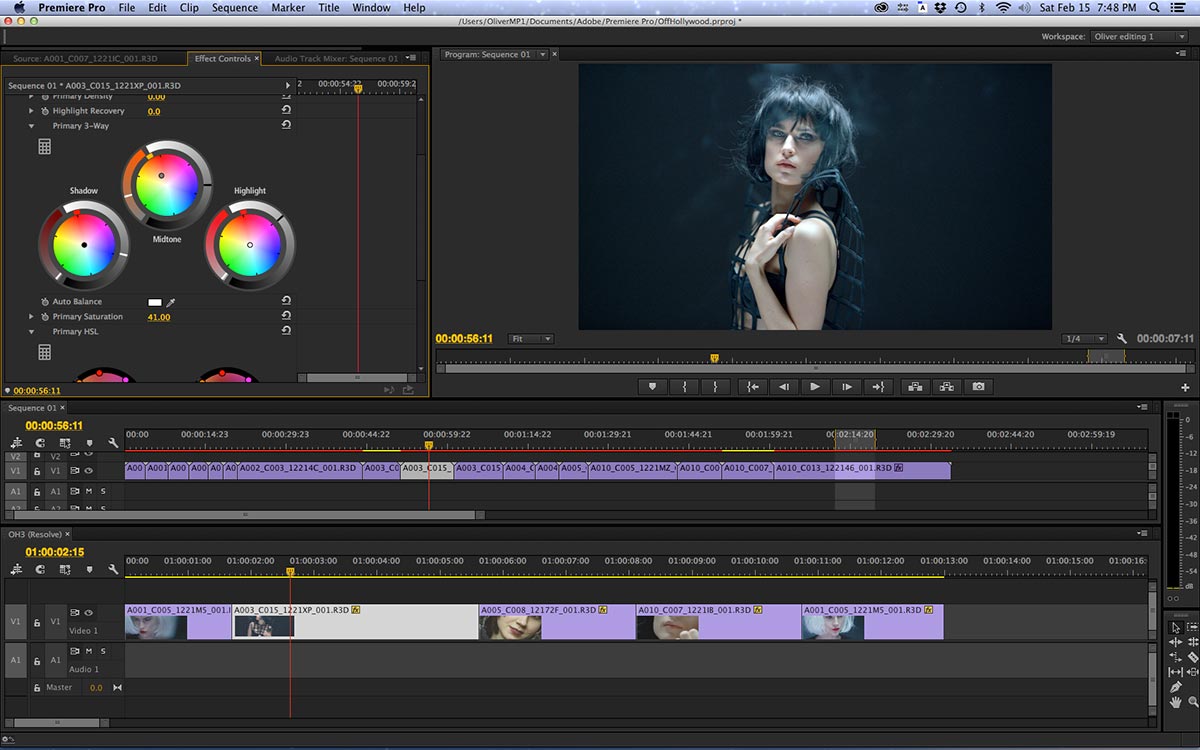 Once you’ve applied and adjusted effects in the long-form cut, select the effects in that window and copy them. Then click on the same shot in the second sequence. The effect control window has been “refocused” on the other clip and is therefore empty. Paste the matching effect(s) to the empty effects control panel. Now the shot in the short-form cut will match the appearance of that same shot from the long-form cut. All done by simply moving back and forth between the two stacked sequences in the timeline window.
©2014 Oliver Peters
