Of course, I’m talking about the principle, not the band: keep it simple, stupid. Nowhere does this apply more than in mixing and color correction.
Many of the films were admire from the 1970s or the classic hit records of the 1960s and 1970s that are held up as sonic pinnacles were finished with tools that we might now consider primitive. Film timing (the equivalent of modern color correction) and analog mixing were as much alchemy and art as they were the precise application of technology.
Tools have become cheaper, thanks to low-cost software like DaVinci Resolve and a plethora of audio plug-ins. We often look for a quick fix, rather than think through the process to achieve the right result. Add in the many YouTube “experts” – some legit, others with no real credits to their name – and you have a never-ending stream of tutorials trying to teach you the “secrets of the masters.”
Color correction
I’ve graded tons of video projects, including feature films and documentaries. If you have to do a ton of grading/color correction/color timing, then something was probably deficient on the production end. Maybe it’s low budget and the production was rushed. Maybe it’s a run-and-gun reality or documentary project. Or maybe, just maybe, the DP wasn’t very good or simply relied more heavily on manipulation in post than he or she should have. My point is that the better the planning and execution for what happens in front of the camera, the better the final look.

I recently watched A Gentleman in Moscow, which is a period drama set from roughly the 1920s to the 1950s. Nearly all of the story takes place within the grand hotel, which is mostly a set on a soundstage in Manchester. While I know nothing about the particulars of the color grade on this project, to my eye, much of the look was created though set design, costuming, and lighting. Plus some visual effects. I’m sure the grade wasn’t simple, but I’d guess that most of the look was in place with just some standard color transforms, balancing, and shot matching.
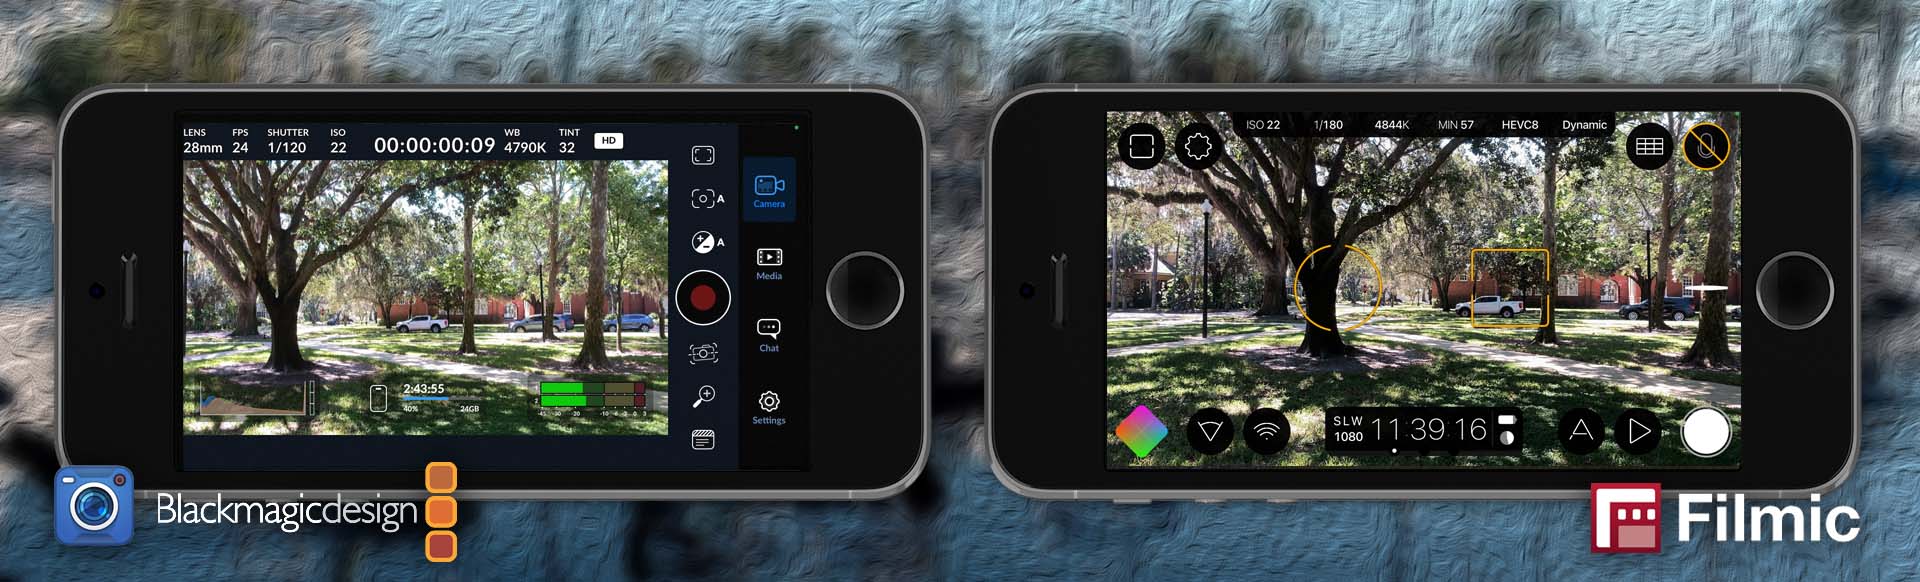
Watch any YouTube tutorial that focuses on Resolve and you often see the most elaborate set of nodes. Often this is unnecessary. Remember that many colorists use a node template, but not all of the nodes are used or enabled. I’ve done color correction with many of the NLEs, as well as DaVinci Resolve. I can often get the right look within a single node or layer, however, using several nodes or layers helps you to stay organized. For instance, my typical approach in Resolve uses five to seven nodes when dealing with log footage. This lets me deal with log conversion, exposure, primaries, secondaries, and vignetting – each in separate nodes. The same with layers in a tool like Final Cut Pro.

The bottom line is that if the DP has the time and inclination to set a look on location or on set, then not only will the color grading session go faster with fewer adjustments, but the final look will be better and appear to be more organic.
Mixing
Like YouTube tutorials about grading with Resolve, a quick search will turn up tons of tips-and-tricks videos dealing with audio recording and mixing. The tools are cheap and probably more folks fancy themselves as musicians that can self-produce than fancy themselves as colorists.
Many of these are product reviews where the plug-in developer sent a free copy of the software in exchange for a review. Most of these are independent without pressure from the company. I do those, too. But others are officially sponsored. Nothing wrong with that as long as you know. However, even though a given Waves Abbey Road plug-in promises to make your mixes sound like those of the Beatles, you can achieve the same results with the tools that were already included with your DAW application.
As noted in some of my other blog posts, I’ve been mixing music as a hobby for a few years now. The source tracks are from various internet downloads. Aside from the enjoyment, this exercise helps to inform the approach I take with the simpler mixes I do on paying video edits. The corollary with color correction is that the better the initial recording, the better the mix is and with fewer machinations to get there.

In the heyday of many of the classic rock hits, there was no differentiation between a recording and a mix engineer. The recording engineer handled the studio recording session and the mix was an organic part of that process. Using a different person for the mix is a relatively new phenomena in music production. A recording engineer had to know a lot about proper mic placement, isolation between players in the studio, and the esoteric of the electronics. Prior to DAWs, software plug-ins, and in-the-box (ITB) mixing, recording engineers had to rely on a relatively small number of outboard units together with the features of the console itself.
Take an orchestra, for example. The reason you have the specific number of brass players versus strings versus winds and so on is that this creates the balance in the sound. Usually that was spelled out by the composer, because the orchestra had to be able to achieve the proper “mix” in a live setting without electronic aids. And so, if you look at how orchestras are recorded, it’s often with relatively few mics arranged in very specific patterns.
I’ve had a chance to sit in on a choral recording session. The engineer recorded a relatively small ensemble in three passes to a 24-track analog recorder – six to eight tracks at a time. With each pass, he re-arranged the pattern and the grouping assignments of the mics. The result was not only the tripling of the sound through overdubs, but a change in the way the group was being picked up in each pass. The mixed result was a whole that was greater than a sum of its parts. My point is that if you have properly recorded tracks, you don’t have to do as much in the mix. In fact, for some projects, the entire session could be recorded with a single stereo microphone, if the mic and the performers are properly positioned.

My own mixing method is to group instruments into summed stems (drums, guitars, vocals, etc), which are then mixed into a submix bus before going the to stereo output. Most of the time, I will use native Logic Pro plug-ins on some of the individual instrument tracks (if at all). My favorite plug-in to place on each group bus is the KIT BB N73, which is a Neve 1073 channel strip emulation. I may also use the Logic compressor here as needed. Finally, I like to add the Softube VCA Compressor, Kiive NFuse, and FabFilter Pro-L2 plug-ins on the submix bus. The exact choice of plug-ins will vary with genre, but right now, these are my go-tos.
If the recording session was handled properly, then you should be able to set up the initial mix with a basic balance of levels and be at least 75% of the way there. If you are having to place a long chain of plug-ins onto each track/fader, then either the original recordings weren’t great to start with or you are overthinking the process.
Ultimately all processes in post become more complex when the original production was short-changed. But, start out with the simplest approach and build upon that. It’s likely that you’ll get to your desired result with less fuss and in a shorter amount of time.
©2024 Oliver Peters