With Adobe announcing new audio tools in Premiere Pro, it’s time for editors to turn their eyes towards Apple again. One clearly missing component within Final Cut Pro – and a bone of contention for many professional editors – is an advanced mixing panel like the other NLEs and, of course Final Cut Pro versions 1 through 7. That’s not to say that you can’t mix in FCP the way it’s been designed – you certainly can. Nor that FCP’s audio tools haven’t improved or been enhanced through various updates. But a number of seemingly small feature enhancements could go a long way towards making the mix tools in Final Cut more versatile and “pro.”
Vintage EQ Collection
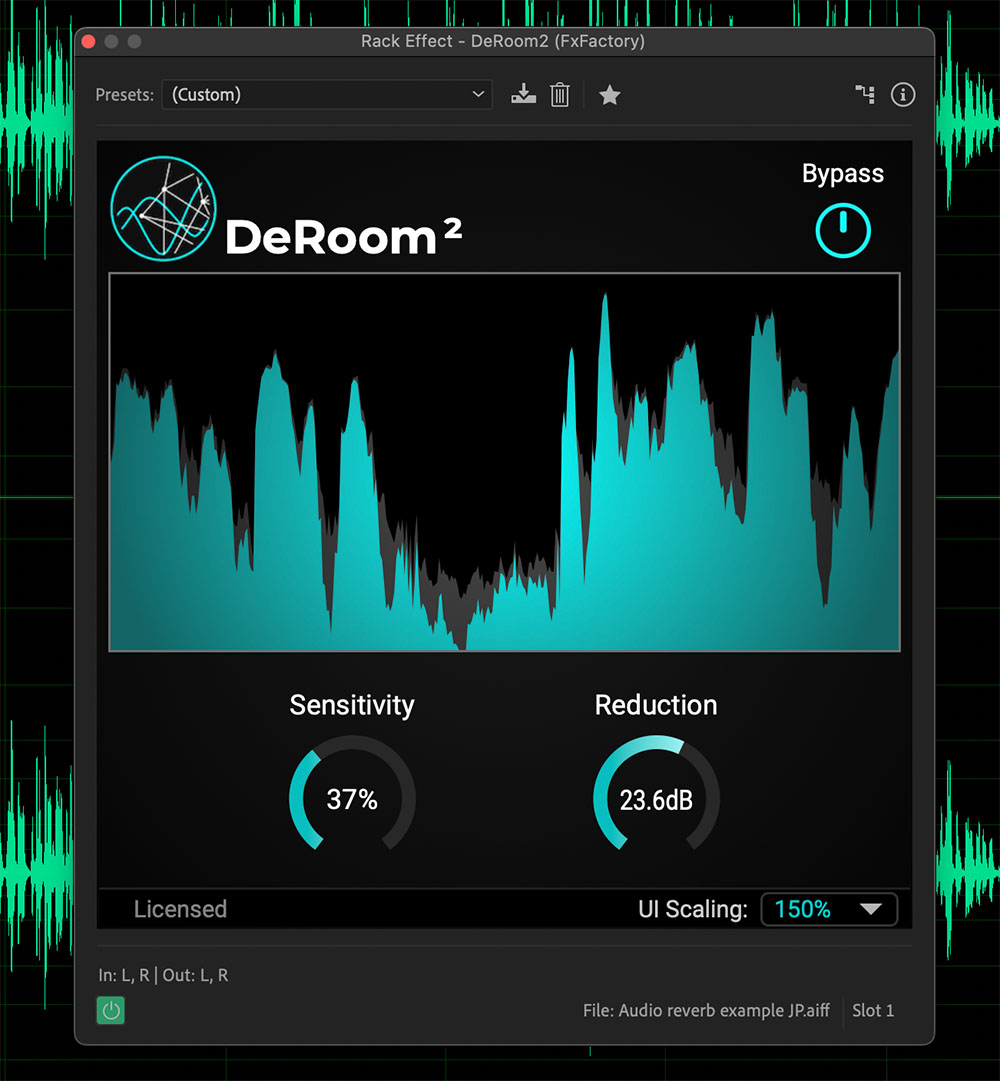
This first suggestion is probably the easiest feature for the ProApps team to implement. Some of the past audio enhancements have boiled down to porting over plug-ins from Logic Pro. These have included the digital parametric EQ and Logic’s compressor. The latter is actually seven compressor modes built into one plug-in with different UI skins and presets for each. These include the transparent, digital Platinum compressor, plus six “vintage” compressors that are inspired by popular analog compression hardware. These add “color” or “character” to the sound. They are modeled after the Focusrite Red, Urei 1176 Blackface, dbx 160, SSL G-Bus, UA 1176 Blue Stripe, and Teletronix LA2A.

What Apple has yet to do is port over the vintage EQ collection. It seems like a no-brainer to simply bring these into Final Cut Pro as a companion to the vintage compressors. These are often easier for some to work with than a graphical UI. The vintage collection includes three analog-style equalizer plug-ins inspired by hardware.

They include the Vintage Console EQ, which is designed after a Neve 1073 channel strip EQ. The Vintage Graphic EQ is Apple’s version of the API 560 EQ. And finally, there’s the Vintage Tube EQ – a software emulation of the classic Pultec EQ. Like the compressors, each of these analog-style EQs adds character/color/warmth to the audio in a way that the parametric EQ doesn’t. As such they would add more versatility to your Final Cut Pro mixing.
Mastering Assistant

Apple’s Logic Pro 10.8 audio application took a huge jump forward through the addition of the new Mastering Assistant. This is a combination of intelligent EQ, compression/limiting, exciter, and stereo imaging. It’s designed to be used as the final stage in your mix. The Mastering Assistant provides automatic analysis for how best to modify your mix in a similar way to what a mastering engineer does. While some of the parameters are adjustable, the plug-in is intentionally minimalistic with much of the processing happening under-the-hood. Although many might view this as a gimmick, the results are actually quite good and very competitive with other mastering plug-ins, as well as numerous online mastering services.
To date, I’ve run over 60 tracks through it and found the results to sound very good. This includes a few TV mixes as a test. Even with those, Mastering Assistant enhanced the mix done in the NLE. Mastering Assistant would be a perfect audio addition to Final Cut Pro – fitting in well with the design direction of the NLE. It would be applied to the output of the system and could be optionally engaged by the user. It’s useful in the current form; however, it would be best for Apple to integrate some presets for TV loudness targets.
Improving the Audio Roles function

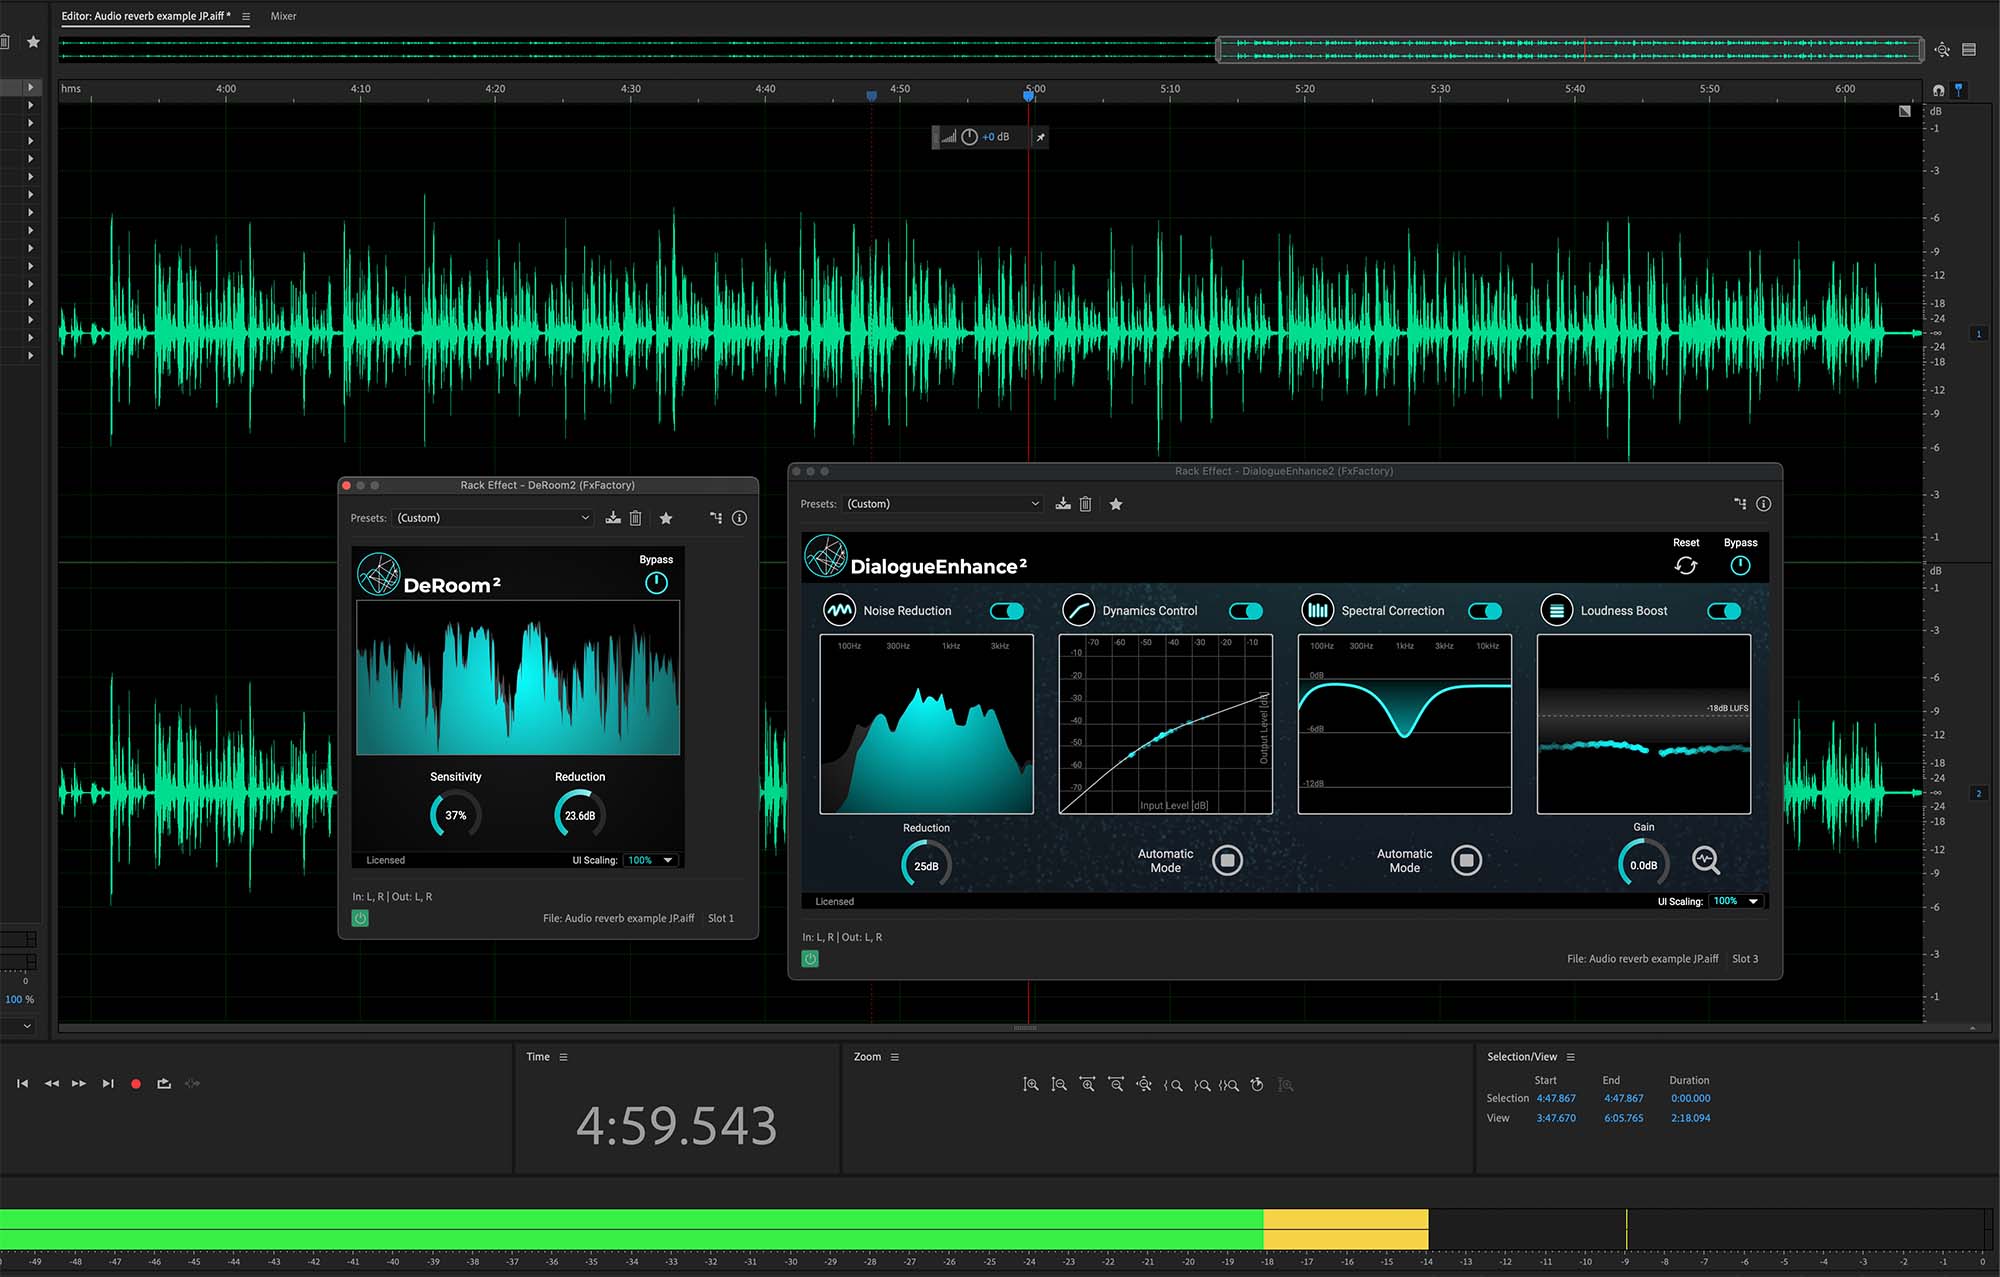
One key innovation that came to Final Cut Pro over the past decade has been the addition of audio and video role assignments. Audio can be tagged according to default and/or custom roles (dialogue, sound effects, music, etc), as well as custom subroles (Tom, Jerry, Susan, etc – or – lav, boom, handheld mic, etc). Internally these are grouped into audio lanes. In a conventional NLE, individual clips and source audio channels would be edited onto different tracks of the timeline. But, since FCP is trackless, roles/lanes become a virtual set of “tracks” organized via these metadata tags.

There’s a downside to the current implementation of audio roles. If you want to work with roles/lanes as if they were tracks or buses, then you first have to compound the sequence. You can then adjust levels and/or apply effects to the whole compound, but also expand audio and adjust levels and add effects to individual roles and subroles. However, if you need to make editorial changes or adjust the audio of one or more individual clips, then you have to step into the compound. Once you do, you can’t hear any of the adjustments made at the top level of the compound clip. This would be like adjusting an individual channel fader in a DAW without hearing the combined levels through the master output.
The way to fix this would be to create a lanes mode where you can work with audio lanes (roles) and the full mix without having to compound the clip first. In short, you want to be able to set the level for a complete role, such as dialogue, but then tweak the level on any individual clip and hear and further adjust those levels interactively. That cannot currently be done. Such a feature enhancement might be a minor software revision or it could require a huge architectural change in the code. I have no idea which one of those is the case. Nevertheless, this would be a major improvement over the current design.
Audio Roles Mixer
A version of what I’m talking about in the previous section has been described as an audio roles mixer. This has been proposed as a sort of middle ground between Final Cut Pro as it is now and a full-blown audio panel, like DaVinci Resolve’s Fairlight tab. Nevertheless, the ability to treat audio subroles and roles as tracks through a separate window or floating panel would be worthwhile.

Hypothetically, this could be similar to some of the virtual channel strip plug-ins offered in the audio world. For example, take a look at Waves’ CLA MixHub plug-in. This was developed in conjunction with renowned mixer Chris Lord-Alge as his take on an SSL channel strip. Unlike other SSL channel strip emulations, MixHub turns your DAW application into a virtual SSL analog console.
Once you apply the MixHub plug-in to each track, you can then call these up in groups, dubbed “buckets.” MixHub will accommodate up to 64 instances, which can be viewed in groups of eight channels at a time within the plug-in’s “bucket view.” To see each group of eight, simply tab through the various buckets (1-8). The panel displays the four key sections of the plug-in (input, EQ, dynamics, output) for up to eight channels side-by-side. For example, if you select the EQ section in the first bucket, then you can focus on just the EQ settings for channels 1 through 8, much like a physical console. Switch to the dynamics section to see the compressor settings for all and so on.

If this concept were to be applied to Final Cut Pro, then it might not include the EQ or dynamics and instead focus only on output/mix levels. That alone would be huge game changer. In a recent documentary that I edited in FCP, over 40 speakers were featured, plus location mics for walk-and-talk dialogue and nat sound. Each speaker was assigned a separate subrole by their name. If something like the CLA MixHub concept existed, then I could simply adjust “track levels” (preferably with track automation) for any of the various interview subjects.
I’m not sure where Apple is headed with future enhancements to Final Cut Pro or how many new audio features might be on their radar. Whatever the case, I certainly hope to see some of these improvements in future updates to the application.
©2024 Oliver Peters