
In the film days, a cinematographer had a good handle on what the final printed image would look like. The film stocks, development methods, and printing processes were regimented with specific guidelines and limited variations. In color television production, up through the early adoption of HD, video cameras likewise adhered to the standards of Rec. 601 (SD) and Rec. 709 (HD). The advent of the video colorist allowed for more creative looks derived in post. Nevertheless, video directors of photography could also rely on knowing that the image they were creating would translate faithfully throughout post-production.
As video moved deeper into “cinematic” images, raw recording and log encoding became the norm. Many cinematographers felt their control of the image slipping away, thanks to the preponderance of color science approaches and LUTs (color look-up tables) generated from a variety of sources and applied in post. As a result, the Academy Color Encoding System (ACES) was developed as a global standard for managing color workflows. It’s an open color standard and method of best practices created by filmmakers and color scientists under the auspices of the Science and Technology Council of the Academy of Motion Picture Arts and Sciences (AMPAS, aka “The Academy”). To dive into the nuances of ACES – complete with user guides – check out the information at ACEScentral.com.
The basics of how ACES works
 Traditionally, Rec. 709 is the color space and gamma encoding standard that dictates your input, timeline, and exports for most television projects. Raw and log recordings are converted into Rec. 709 through color correction or LUTs. The color gamut is then limited to the Rec. 709 color space. Therefore, if you later try to convert a Rec. 709 ProResHQ 4:2:2 master file into full RGB, Rec. 2020, HDR, etc., then you are starting from an already-restricted range of color data. The bottom line is that this color space has been defined by the display technology – the television set.
ACES is its own color space designed to be independent of the display hardware. It features an ultra-wide color gamut that encompasses everything the human eye can see. It is larger than Rec. 709, Rec. 2020, P3, sRGB, and others. When you work in an ACES pipeline, ACES is an intermediate color space not intended for direct viewing. In other world, ACES is not dictated by current display technology. Files being brought into ACES and being exported for delivery from ACES pass through input and output device transforms. These are mathematical color space conversions.
For example, film with an ARRI Alexa, record as LogC, and grade in a Rec. 709 pipeline. A LogC-to-REC709 LUT will be applied to the clip to convert it to the Rec. 709 color space of the project. The ACES process is similar. When working in an ACES pipeline, instead of applying a LUT, I would apply an Input Device Transform (IDT) specific for the Alexa camera. This is equivalent to a camera profile for each camera manufacturer’s specific color science.
 ACES requires one extra step, which is to define the target device on which this image will be displayed. If your output is intended to be viewed on television screens with a standard dynamic range, then an Output Device Transform (ODT) for Rec. 709 would be applied as the project’s color output setting. In short, the camera file is converted by the IDT into the ACES working color space, but is viewed on your calibrated display based on the ODT used. Under the hood, ACES preserves all of the color data available from the original image. In addition to IDTs and ODTs, ACES also provides for Look Modification Transforms (LMT). These are custom “look” files akin to various creative LUTs built for traditional Rec. 709 workflows.
ACES holds a lot of promise, but it is still a work-in-progress. If your daily post assignments don’t include major network or studio deliverables, then you might wonder what benefit ACES has for you. In that case, yes, continuing to stick with a Rec. 709 color pipeline will likely be fine for a while. But companies like Netflix are behind the ACES initiative and other media outlets are bound to follow. You may well find yourself grading a project that requires ACES deliverables at some point in the future.
There is no downside in adopting an ACES pipeline now for all of your Resolve Rec. 709 projects. Working in ACES does not mean you can instantly go from a grade using a Rec. 709 ODT to one with a Rec. 2020 ODT without an extra trim pass. However, ACES claims to make that trim pass easier than other methods.
The DaVinci Resolve ACES color pipeline
Resolve has earned a position of stature within the industry. With its low price point, it also offers the most complete ACES implementation available to any editor and/or colorist. Compared with Media Composer, Premiere Pro, or Final Cut Pro X, I would only trust Resolve for an accurate ACES workflow at this point in time. However, you can start your edit in Resolve as Rec. 709 – or roundtrip from another editor into Resolve – and then switch the settings to ACES for the grade and delivery. Or you can start with ACES color management from the beginning. If you start a Resolve project using a Rec. 709 workflow for editing and then switch to ACES for the grade, be sure to remove any LUTs applied to clips and reset grading nodes. Those adjustments will all change once you shift the settings into ACES color management.
 To start with an ACES workflow, select the Color Management tab in the Master Settings (lower right gear icon). Change Color Science to ACEScct and ACES version 1.1. (The difference between ACEScc and ACEScct is that the latter has a slight roll-off at the bottom, thus allowing a bit more shadow detail.) Set the rest as follows: ACES Input Device Transform to No Input Transform. ACES Output Device Transform to Rec. 709 (when working with a calibrated grading display). Process Node LUTs in ACEScc AP1 Timeline Space. Finally, if this is for broadcast, enable Broadcast Safe and set the level restrictions based on the specs that you’ve been supplied by the media outlet.
With these settings, the next step is to select the IDT for each camera type in the Media page. Sort the list to change all cameras of a certain model at once. Some media clips will automatically apply an IDT based on metadata embedded into the clip by the camera. I found this to be the case with the raw formats I tested, such as RED and BRAW. While an IDT may appear to be doing the same thing as a technical LUT, the math is inherently different. As a result, you’ll get a slightly different starting look with Rec. 709 and a LUT, versus ACES and an IDT.
 Nearly all LUTs are built for the Rec. 709 color space and should not be used in an ACES workflow. Yes, you can apply color space transforms within your node structure, but the results are highly unpredictable and should be avoided. Technical camera LUTs in Resolve were engineered by Blackmagic Design based on a camera manufacturer’s specs. They are not actually supplied as a plug-in by the manufacturer to Blackmagic. The same is true for Apple, Avid, and Adobe, which means that in all cases a bit of secret sauce may have been employed. Apple’s S-Log conversion may not match Avid’s for instance. ACES IDTs and ODTs within Resolve are also developed by Blackmagic, but based on ACES open standards. In theory, the results of an IDT in Resolve should match that same IDT used by another software developer.
Working with ACES on the Color page
 After you’ve set up color management and the transforms for your media clips, you’ll have no further interaction with ACES during editing. Likewise, when you move to the Color page, your grading workflow will change very little. Of course, if you are accustomed to applying LUTs in a Rec. 709 workflow, that step will no longer be necessary. You might find a reason to change the IDT for a clip, but typically it should be whatever is the correct camera profile for the associated clip. Under the hood, the timeline is actually working in a log color space (ACEScc AP1); therefore, I would suggest grading with Log rather than Primary color wheels. The results will be more predictable. Otherwise, grade any way you like to get the look that you are after.
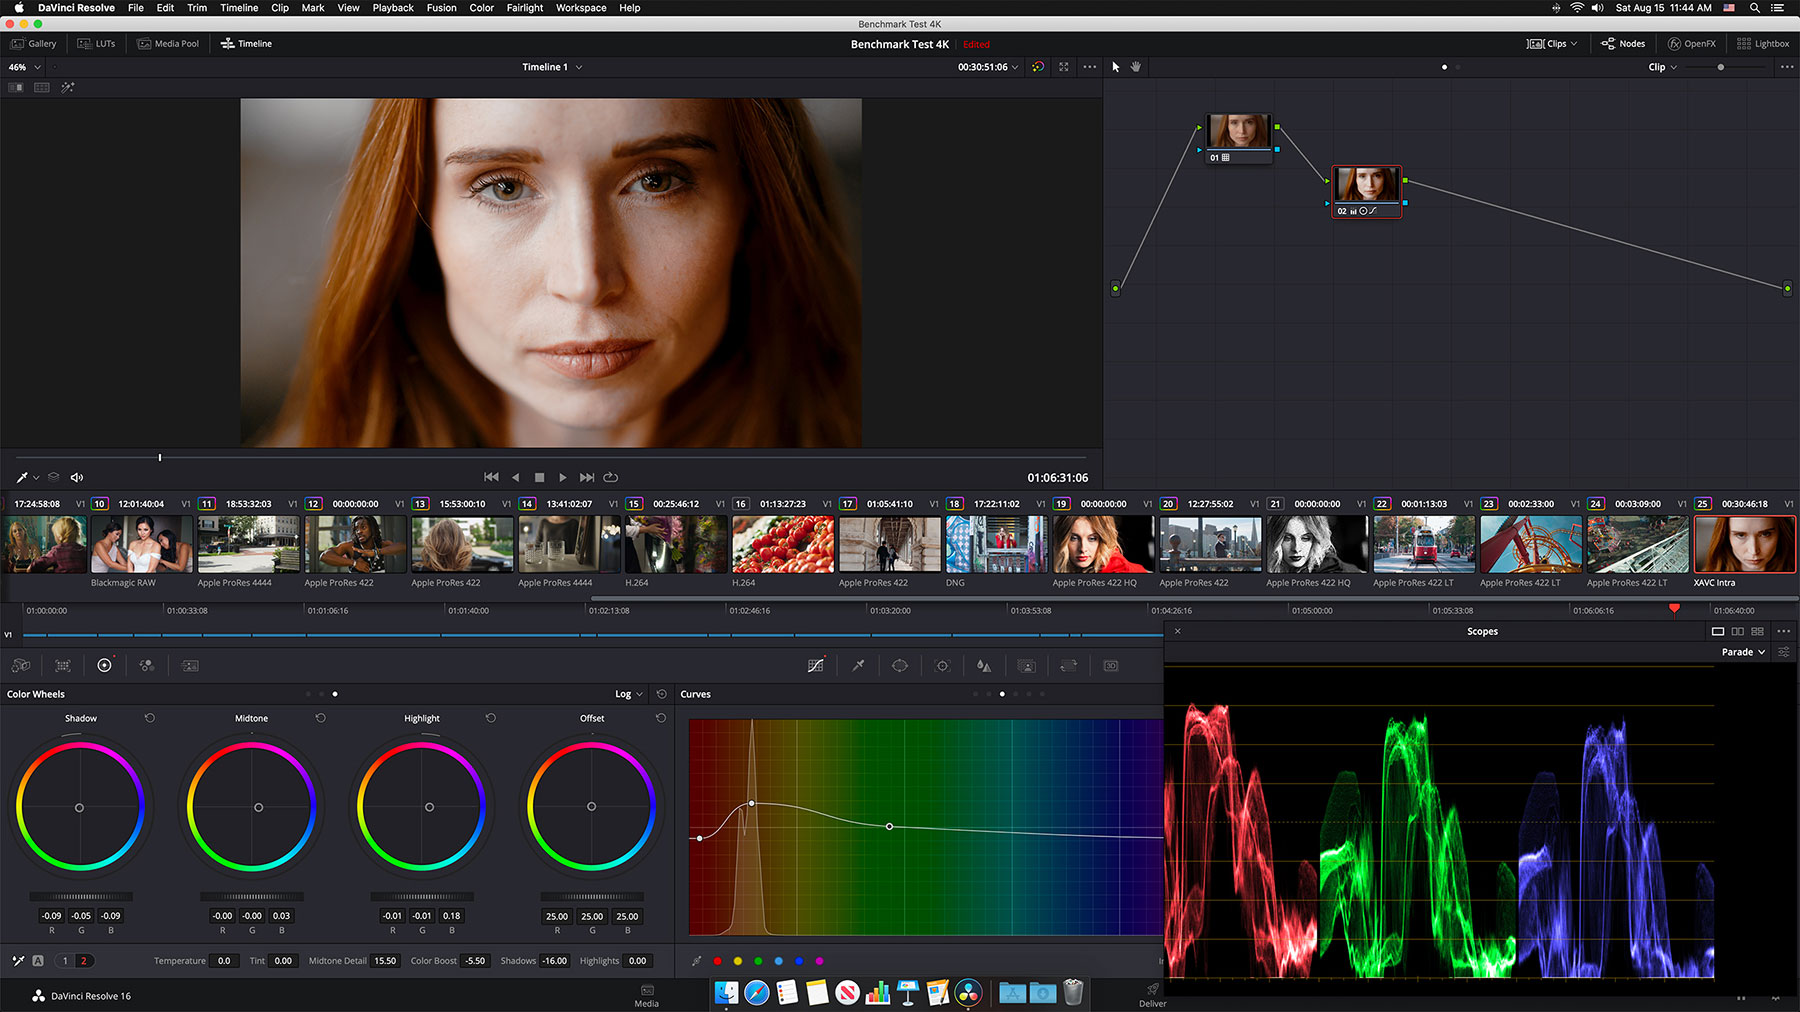
 Currently Resolve offers few custom look presets specific to the ACES workflow. There are three LMTs found under the LUTs option / CLF (common LUT format) tab (right-click any node). These include LMT Day for Night. LMT Kodak 2383 Print Emulation, LMT Neon Suppression. I’m not a fan of either of the first two looks. Quite frankly, I feel Resolve film stock emulations are awful and certainly nowhere near as pleasing as those available through Koji Advance or FilmConvert Nitrate. But the third is essential. The ACES color space has one current issue, which is that extremely saturated colors with a high brightness level, like neon lights, can induce image artifacts. The Neon Suppression LMT can be applied to tone down extreme colors in some clips. For example, a shot with a highly saturated red item will benefit from this LMT, so that the red looks normal.
 If you have used LUTs and filters for certain creative looks, like film stock emulation or the orange-and-teal look, then use PowerGrades instead. Unlike LUTs, which are intended for Rec. 709 and are typically a “black box,” a PowerGrade is simply a string of nodes. Every time you grab a still in the Color page, you have stored that series of correction nodes as a PowerGrade. A few enterprising colorists have developed their own packs of custom Resolve PowerGrades available for free or sale on the internet.
 The advantages are twofold. First, a PowerGrade can be applied to your clip without any transform or conversion to make it work. Second, because these are a series of nodes, you can tweak or disable nodes to your liking. As a practical matter, because PowerGrades were developed with a base image, you should insert a node in front of the added PowerGrade nodes. This will allow you to optimize your image for the settings of the PowerGrade nodes and provide an optimal starting point.
Deliverables
The project’s ODT is still set to Rec. 709, so nothing changes in the Resolve Deliver page. If you need to export a ProResHQ master, simply set the export parameters as you normally would. As an extra step of caution, set the Data Levels (Advanced Settings) to Video and Color Space and Gamma Tags to Rec. 709, Gamma 2.4. The result should be a proper video file with correct broadcast levels. So far so good.
 One of the main reasons for an ACES workflow is future proofing, which is why you’ve been working in this extended color space. No common video file format preserves this data. Furthermore, formats like DNxHR and ProRes are governed by companies and aren’t guaranteed to be future-proofed.
An ACES archival master file needs to be exported in the Open EXR file format, which is an image sequence of EXR files. This will be a separate deliverable from your broadcast master file. First, change the ACES Output Device Transform (Color Management setting) to No Output Device and disable Broadcast Safe limiting. At this point all of your video clips will look terrible, because you are seeing the image in the ACES log color space. That’s fine. On the Deliver page, change the format to EXR, RGB float (no compression), and Data Levels to Auto. Color Space and Gamma Tags to Same As Project. Then Export.
 In order to test the transparency of this process, I reset my settings to an ODT of Rec. 709 and imported the EXR image sequence – my ACES master file. After import, the clip was set to No Input Transform. I placed it back-to-back on the timeline against the original. The two clips were a perfect match: EXR without added grading and the original with correction nodes. The one downside of such an Open EXR ACES master is a huge size increase. My 4K ProRes 4444 test clip ballooned from an original size of 3.19GB to 43.21GB in the EXR format.
Conclusion
Working with ACES inside of DaVinci Resolve involves some different terminology, but the workflow isn’t too different once you get the hang of it. In some cases, camera matching and grading is easier than before, especially when multiple camera formats are involved. ACES is still evolving, but as an open standard supported globally by many companies and noted cinematographers, the direction can only be positive. Any serious colorist working with Resolve should spend a bit of time learning and getting comfortable with ACES. When the time comes that you are called upon to deliver an ACES project, the workflow will be second nature.
UPDATE 2/23/21
Since I wrote this post, I’ve completed a number of grading jobs using the ACES workflow in DaVinci Resolve. I have encountered a number of issues. This primarily relates to banding and artifacts with certain colors.
In a recent B-roll shoot, the crew was recording in a casino set-up with an ARRI Alexa Mini in Log-C. The set involved a lot of extreme lights and colors. The standard Resolve ACES workflow would be to set the IDT to Alexa, which then automatically corrects the Log-C image back to the default working color space. In addition, it’s also recommended to apply neon suppression in order to tone down the bright colors, like vibrant reds.

I soon discovered that the color of certain LED lights in the set became wildly distorted (see image). The purple trim lighting on the frames of signs or the edges of slot machines became very garish and artificial. When I set the IDT to Rec 709 instead of Alexa and graded the shot manually without any IDT or LUT, then I was able to get back to a proper look. It’s worth noting that I tested these same shots in Final Cut Pro using the Color Finale 2 Pro grading plug-in, which also incorporates ACES and log corrections. No problems there.
After scrutinizing a number of other shots within this batch of B-roll footage, I noticed quite a bit more banding in mid-range portions of these Alexa shots. For example, the slight lighting variations on a neutral wall in the background displayed banding, as if it were an 8-bit shot. In general, natural gradients within an image didn’t look as smooth as they should have. This is something I don’t normally see in a Rec 709 workflow with Log-C Alexa footage.
Overall, after this experience, I am now less enthusiastic about using ACES in Resolve than I was when I started out. I’m not sure if the issue is with Blackmagic Design’s implementation of these camera IDTs or if it’s an inherent problem with ACES. I’m not yet willing to completely drop ACES as a possible workflow, but for now, I have to advise that one should proceed with caution, if you intend to use ACES.
Originally written for Pro Video Coalition.
©2020, 2021 Oliver Peters
