
Holiday time is a joyous affair, but it’s also the time of the year when retailers roll out their specials and cyber-deals. In these past almost-two years, many editors have spent a significant time cutting from home. Many have been working with ad hoc set-ups, like spreading a laptop and drives across the dining room table. If that’s you, maybe now is the time to create a more comfortable and productive editing environment.
I’ve discussed the minimalist approach in the past and that’s what I’m revisiting in this post. The objective is to set up a powerful room built for modern workflows, but with a light footprint. My goal is a comfortable cutting room, not a high-end grading or mixing suite. For example, with editing in mind, you don’t necessarily need a large video reference display and AJA or Blackmagic Design i/o hardware. You can if you want to, but it’s not essential.
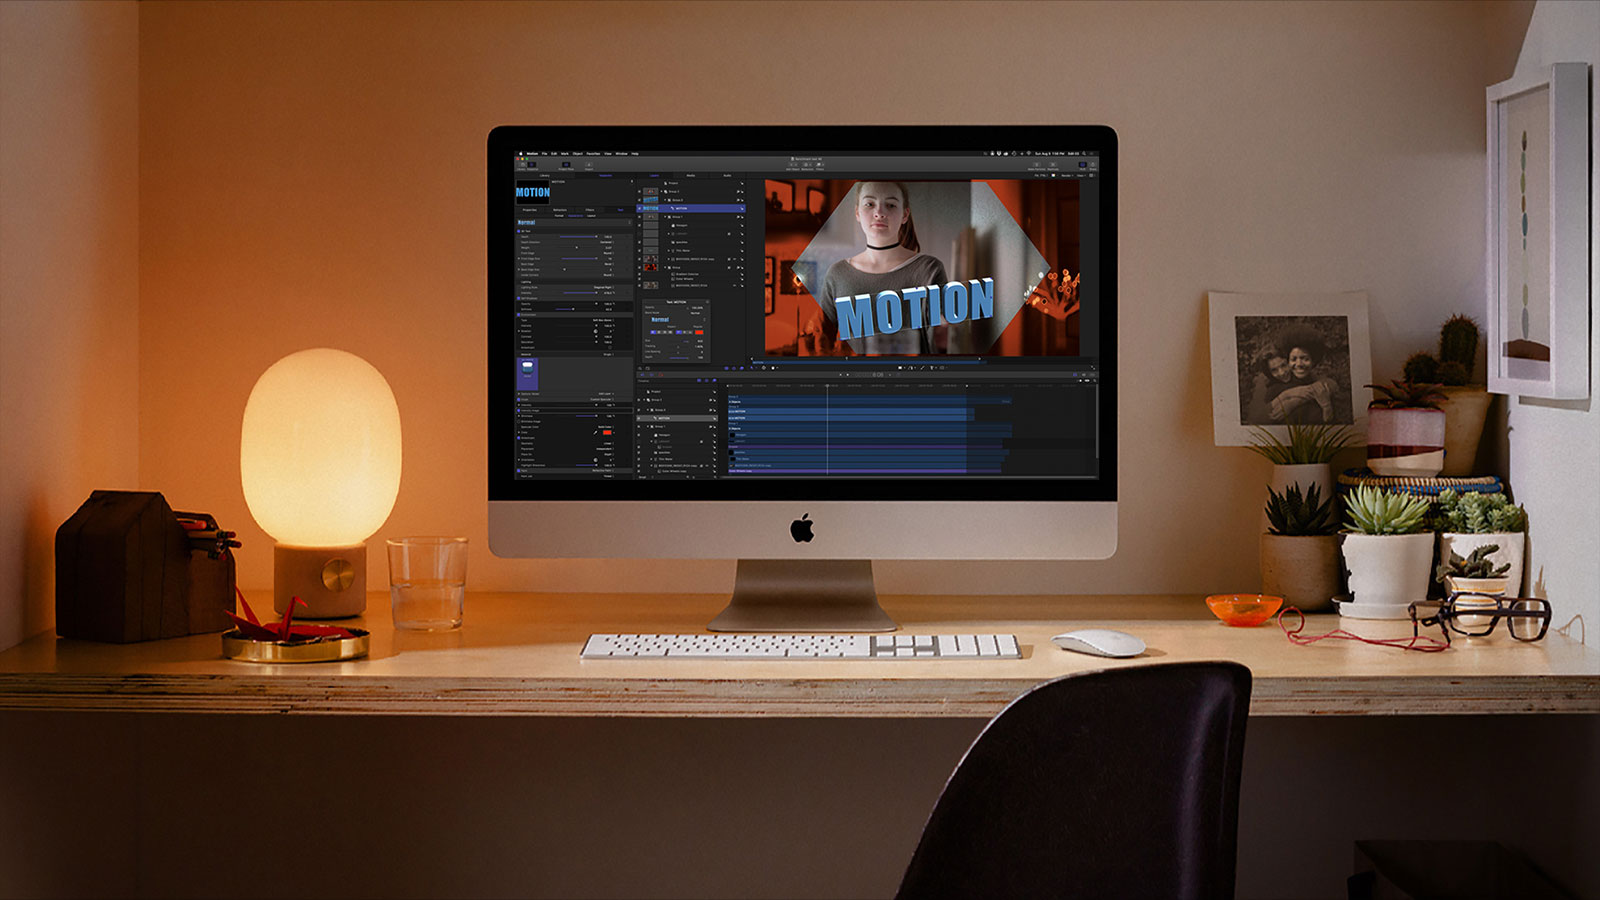
I’m going to describe a layout designed around a laptop with an external display. While you could certainly go with a workstation, the laptops offer you mobility, should you need to move the project to the location. Modern laptops, like the new 14″ and 16″ MacBook Pros have more than enough horsepower to compete with most desktop system. However, if mobility is less important and you still want the latest Apple hardware, then a Mac mini or a 24″ iMac might best fit the bill. Currently these use the entry-level M1 chip. While offering plenty of power for most users, you might want to wait until 2022 before committing, since more powerful versions are expected. After a couple of years running an older 15″ MacBook Pro plus a Dell display, I reconfigured my home cutting room around a 27″ Intel iMac. This best matches my current needs, since I rarely work on-location anymore.
Since I typically work with Macs, I’m going to focus on them here. If you prefer Windows PCs, then simply substitute your favorite – maybe a Dell, HP, or even a custom Puget Systems machine. If you are purchasing a new Mac with an Apple Silicon M1 integrated SoC, then make sure the hardware and software you add is compatible with the M1 chipset, as well as the latest macOS. While I have tried to make selections that are compatible, I don’t have personal experience with each and every item, so do your own research before you buy. My whole point here is to spark some ideas that may help you hone in on just the right room layout and tools for you.
Click the embedded links that appear throughout this post for more specific product information.
The room
For sake of discussion, I’m talking about repurposing a spare bedroom, office, cave, etc into a permanent editing suite. However, this doesn’t mean a total rehab. You certainly could do that, but I’m not advocating making the walls soundproof, adding a compression ceiling, or anything crazy. If that is your goal, then check out some of my old posts about DIY edit suite construction. There are three key considerations – power, your sitting/standing preference, and sound treatment.
Most modern residential buildings have adequate power in the normal outlets to power your gear. However, I would highly recommend bringing in an electrician to wire dedicated circuits just for your computer and accessories. After all, you don’t want your RAID on the same circuit as the kitchen microwave or toaster. In addition, add an uninterruptible power supply, like an APC Smart-UPS or CyberPower Systems UPS. A single floor unit (1500-220VA) will be sufficient to provide power through momentary black-outs, as well as provide some voltage regulation. Also include a few standard power strips.
The chair and desk will be the most important purchases over time. Whether you prefer to sit, stand, or mix it up is a personal choice. I like large flat table surfaces in the 3′ x 6′ range. To cover the bases look at something like a Jarvis Bamboo Standing Desk. Make sure you pick an adjustable height model with electrical control and add the option of cable trays for neater cable management. Your sit/stand preference will dictate whether you need a standard office chair or stool. I’m a fan of the Herman Miller Aeron and Mirra 2 models for their quality and durability, but X-Chair or similar gaming chair is also a high-quality alternative.
Finally, the acoustic wall treatments. You may have enough furnishings and irregular surfaces in the room already to sufficiently kill sound reflections. If not, a good solution will be sound panels that can be mounted on the walls, like color-coordinated kits from Acoustical Solutions.
Computer and peripherals
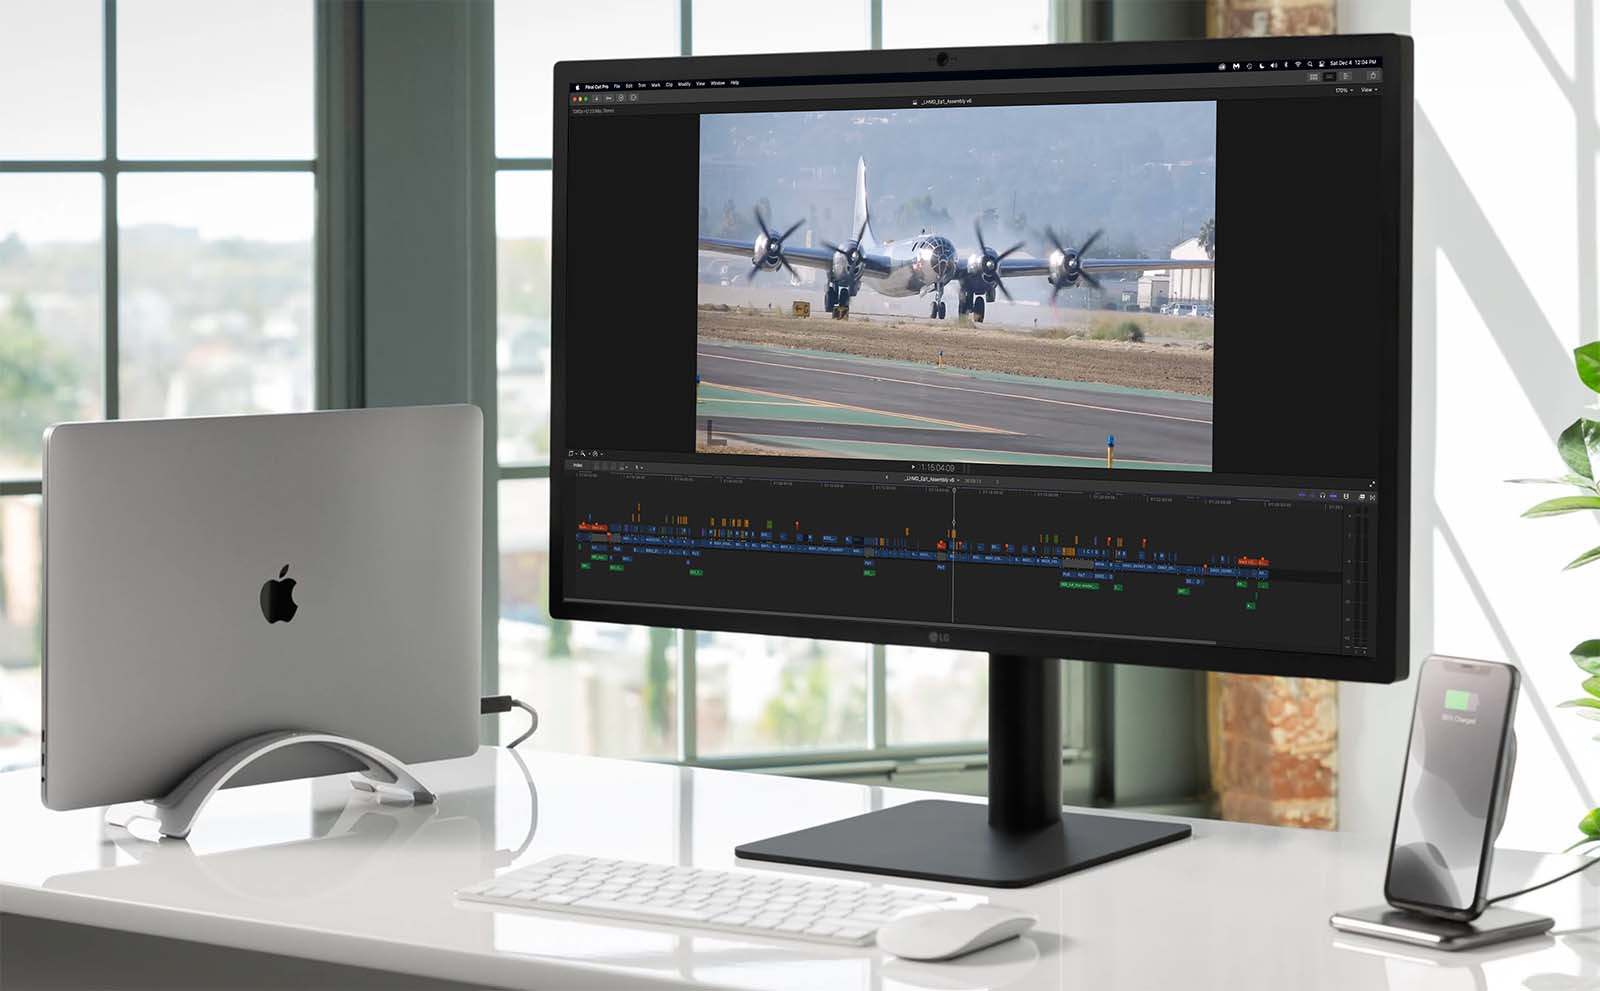
As I stated up top, this room is designed around a laptop with an external display. My top laptop pick right now is Apple’s 16″ MacBook Pro with the M1 Max chip. Get the 10-core (CPU) / 32-core (GPU) model with 64GB RAM and a 1TB internal drive. Except for the drive, this is maxed out, so it should be ready for anything you toss at it. Some will prefer the 14″ MacBook Pro, which is smaller yet offers similar power. (Although some have noted that the “notch” is more intrusive on the 14″ models.)
Be sure to add an external Bluetooth keyboard, mouse, and/or trackpad. I recommend also adding a Rain Design mStand laptop stand and an Anker USB dock for additional USB-A ports. If you prefer to run your laptop in the clamshell mode and tuck it out of the way, then go for the Twelve South BookArc. In that case, the smaller 14″ MacBook Pro might be the better choice, since the laptop screen is less important in daily use.
When it comes to the display, the goal is a large primary interface display that’s good (enough) for critical video evaluation. But it’s not a dedicated video display. The laptop’s screen becomes your secondary display if you configure this as a dual-display layout. There are plenty of options, but my top three choices are the Apple Pro Display XDR, Apple’s version of the LG UltraFine 5K display, and the ASUS ProArt PA32UCG-K.
If you prefer a matched dual-display layout, instead of using the laptop screen as a second display, then you may want to consider a pair of the LG UltraFine 4K models. Remember to add AppleCare to any of the products purchased from Apple. Yes, it’s an “insurance” policy, but I have actually had to use it in the past with an older Apple laptop. I was glad I had it then.
Storage
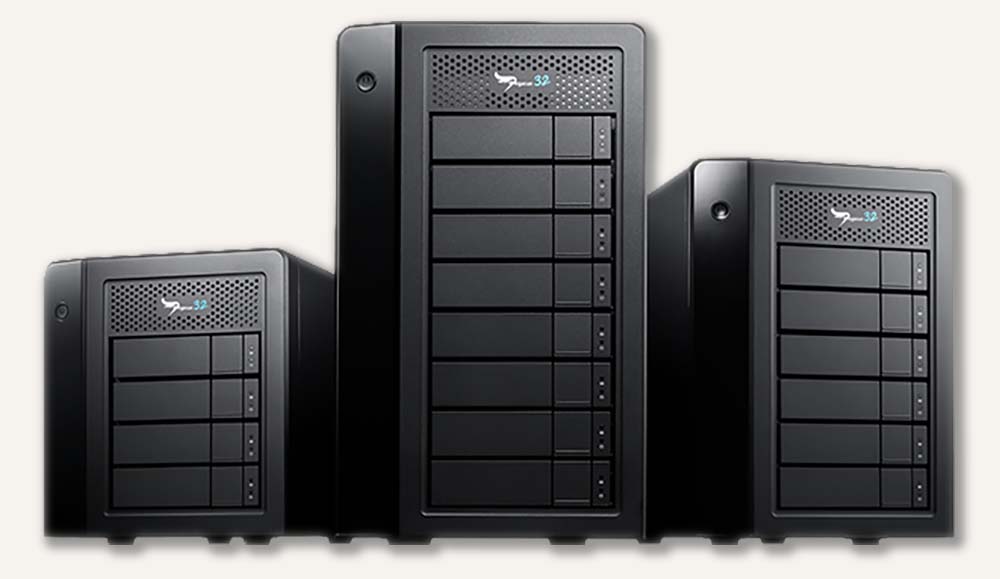
The type and capacity of required storage will depend on the projects you tackle. If you work with many projects or a lot of media, then I would recommend two RAID choices. The Promise RAIDs are tried and true, so the Pegasus32 R4, R6, or R8 models stand out. Another interesting option is OWC’s Thunderbay Flex 8, because you can mix both SSD/NVMe and spinning drives in the same enclosure. The enclosure also adds some expansion capability.
Because you never have enough ports, look at the OWC Thunderbolt 3 Pro Dock. This may or may not be necessary if you purchase the Thunderbay Flex 8, as that unit already adds some additional ports. But you may need both.
I archive all client projects onto removable drives. If you work with such raw drives, make sure to get a fast drive dock, such as the OWC Drive Dock USB-C. This is handy not only for archiving, but if the dock and drive are fast enough, you can also edit directly from it, should quick revisions be required in the future. For media, my current choice is Seagate’s Ironwolf Pro line. Regardless of brand or capacity, select drives that run at 7200 RPM or faster, carry a 5-year limited warranty, and are rated for NAS use.
If you prefer to use small external drives or need them for location work, then you can’t beat the Samsung T7, G-Drive Pro, or Glyph Atom SSDs.
Audio hardware
While I think you can do without an external video monitor in this type of room, I do believe you need good audio monitoring. I’m not a fan of working and mixing 100% of the time using only headphones, so speakers and an audio interface are important. How invested you are in audio gear is going to depend on whether you want to be able to work in stereo only or also surround. While I think you can adequately mix and master (for TV and the web) simple stereo projects in this environment, I don’t recommend that for surround. The intent is purely monitoring while editing, using either an LCR or a 5.1 configuration.
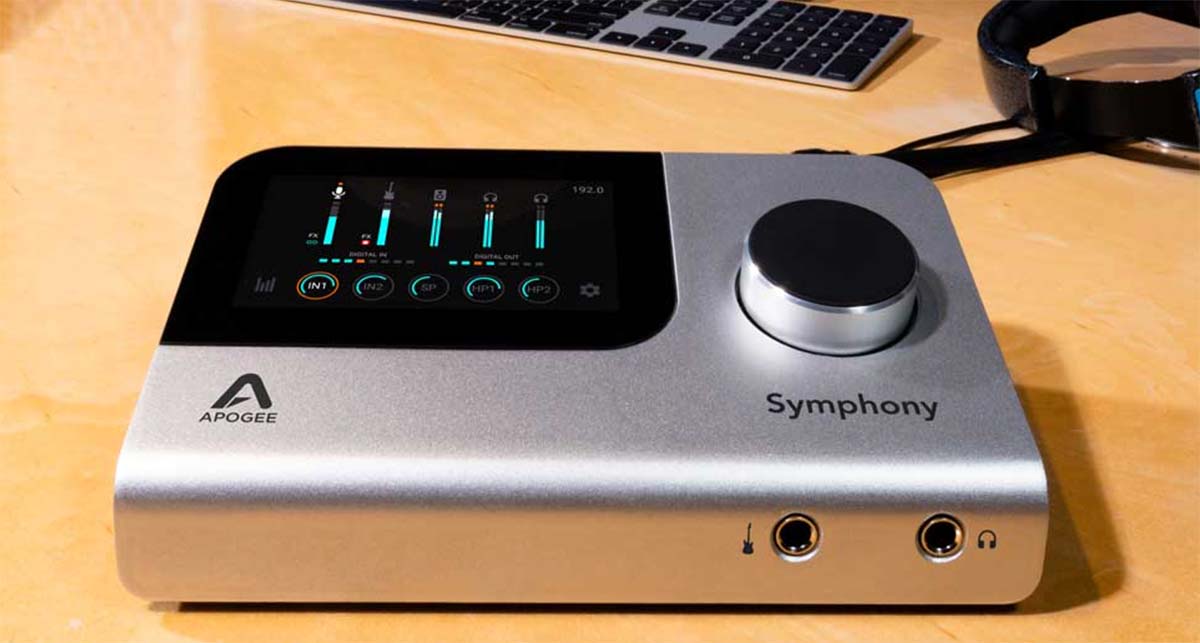
The most straightforward is a stereo-only configuration. There are plenty of interface options, but my top choices are the PreSonus AudioBox USB 96, PreSonus Studio 24c, Apogee Symphony Desktop, or Focusrite Scarlett 2i2. If you want or need to monitor LCR or 5.1, then this requires an audio interface with additional discrete analog line outputs. 5.1 requires six outputs, but most units will come in configurations with eight line outputs. I have not personally tested these, but based on my research, I would recommend the PreSonus Studio 1824c, Focusrite Scarlett 18i20, or Focusrite Pro Red 16Line.
If the interface uses macOS core audio, then it should be compatible. However, if a separate software driver is used, then make sure that it will work with the M1 Macs and the latest macOS version. If you use powered speakers, then you can design the room without an external audio mixer, unless you prefer to add one.
Powered speakers eliminate the need for additional amps, wiring, a mixer, etc. This fits with the minimalist ethos. There are plenty of great speakers to choose from, but it’s a highly subjective choice. My top picks include Genelec, ADAM Audio, PreSonus, KRK, and M-Audio. Obviously for stereo, you’ll only need a pair of speakers; but for a 5.1 surround, you’ll need to purchase five matched speakers, plus a subwoofer. I also recommend speaker stands or risers – especially for any speaker sitting on the desk. This isolates vibration between the speaker and the desk and elevates the cones to the right height for your ears. I currently use speaker ISO-Stands from isoAcoustics.
Having speakers won’t eliminate the need to use headphones from time to time, so pick some good ones. AKG studio models are my go-to. Need to record any scratch tracks? Don’t forget a basic microphone. I’m fond of RØDE’s NT-USB Mini or their PodMic (with stand).
Video software / plug-ins
I’m not going to dwell on the choice of editing software (NLE). The options are all good and what you use will depend on preference or business/project requirements. I’m talking about Avid Media Composer, Adobe Premiere Pro, Apple Final Cut Pro, or DaVinci Resolve. Of course, you can also toss in Lightworks and Media 100. Of these, Premiere Pro, FCP, and Resolve will be the most up-to-date with Mac compatibility. If your needs are simple, then you are probably fine using the tools as they come. But if your needs are more advanced or you are required to interchange projects with users who are running other NLEs, then you’ll have to augment the NLE with third-party tools.
Final Cut Pro users who exchange files with Premiere Pro editors or send sequences to a mixer using Pro Tools will need to invest in interchange products from Intelligent Assistance, XMiL, and/or Marquis Broadcast. These are available through the Apple App Store.
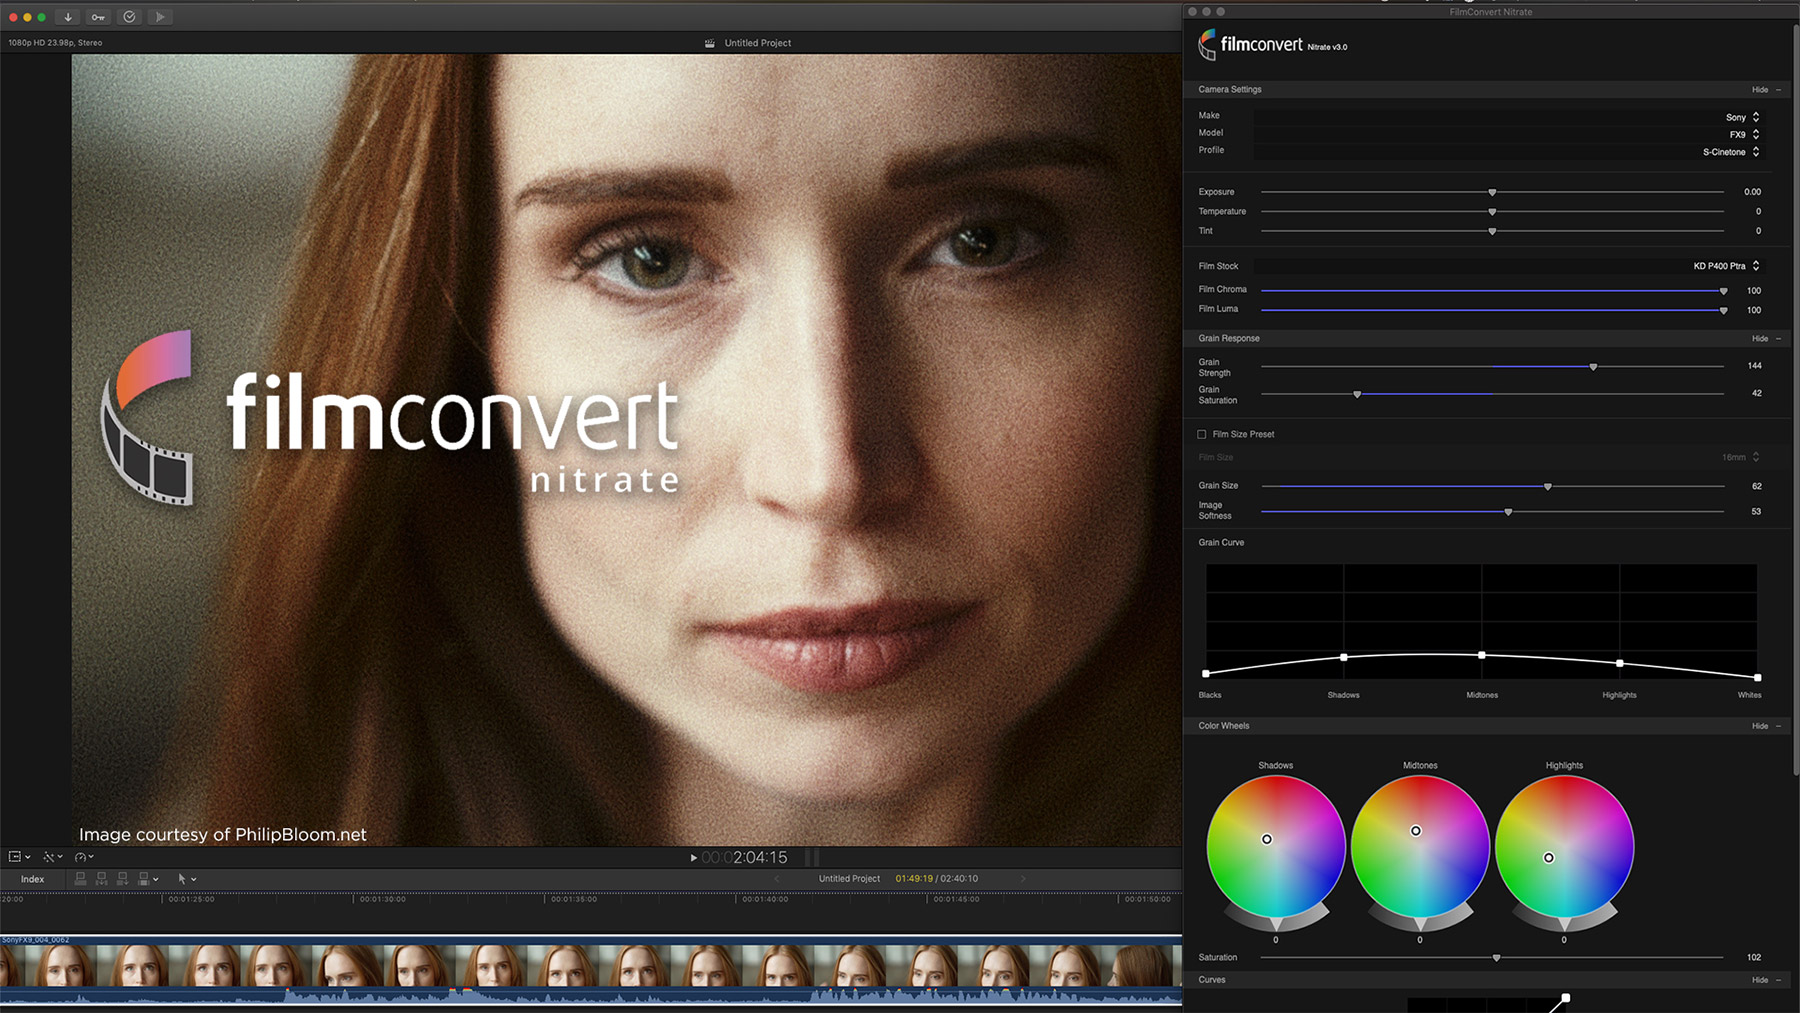
If you perform advanced color correction, but want to stay within the NLE, then Media Composer editors can choose to add the Symphony option. Final Cut Pro editors have several choices, including plug-ins and applications from Color Finale or Coremelt. Other tools available to the various NLEs are FilmConvert’s Nitrate and CineMatch. Need more effects grunt than what the native effects and transitions offer? The best all-around package is Continuum from Boris FX.
Audio plug-ins
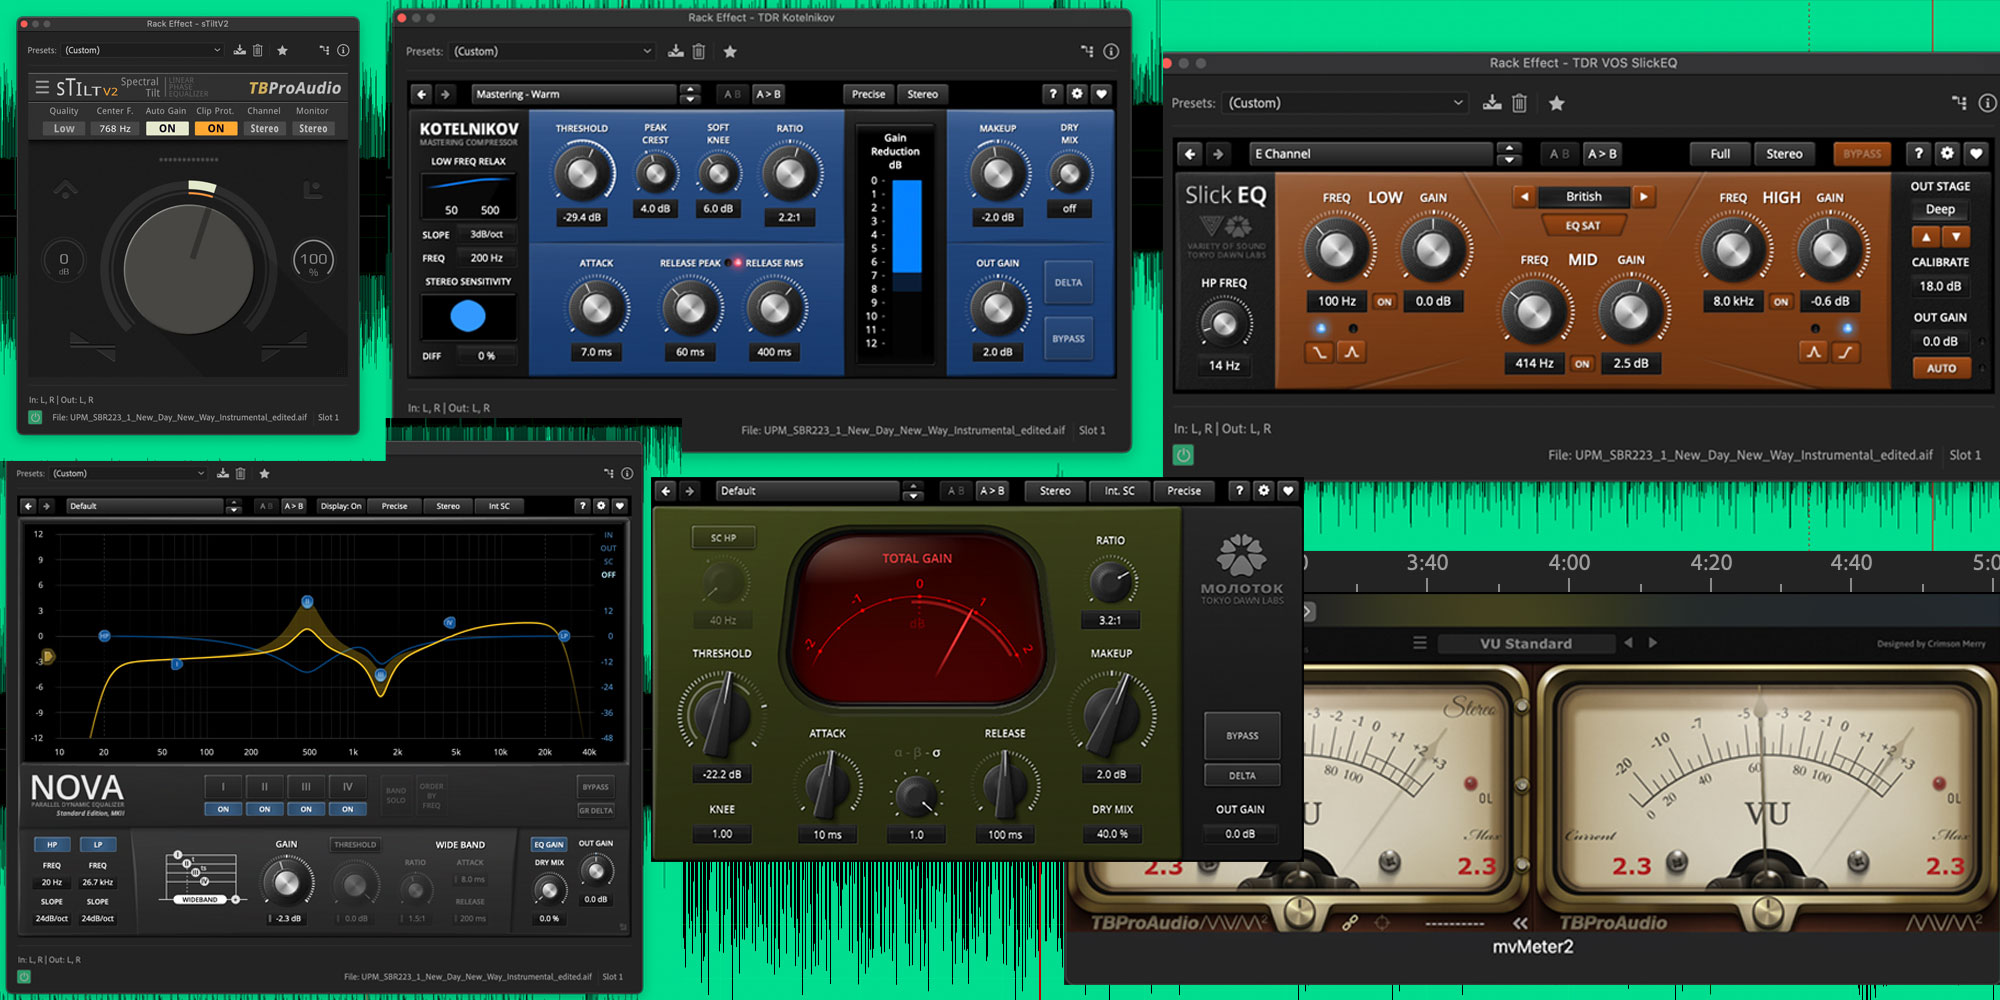
Like video, most of these NLEs have a solid selection of built-in audio effect/filter plug-ins. Nevertheless, often a third-party tool might handle tough sound situations in a better manner. One area is audio clean-up. My three top choices include the Accusonus ERA bundle, Klevgrand Brusfri, and iZotope RX. The first two offer good real-time performance and work well applied to clips or tracks. RX does include some real-time plug-ins, but you are better off using the standalone application that’s part of the RX bundle.
If you need to add more processing (EQ, compression, limiting), then I really like the various FabFilter plug-ins. But, there are also some good free plug-ins from Tokyo Dawn Labs and TBProAudio.
Other software applications
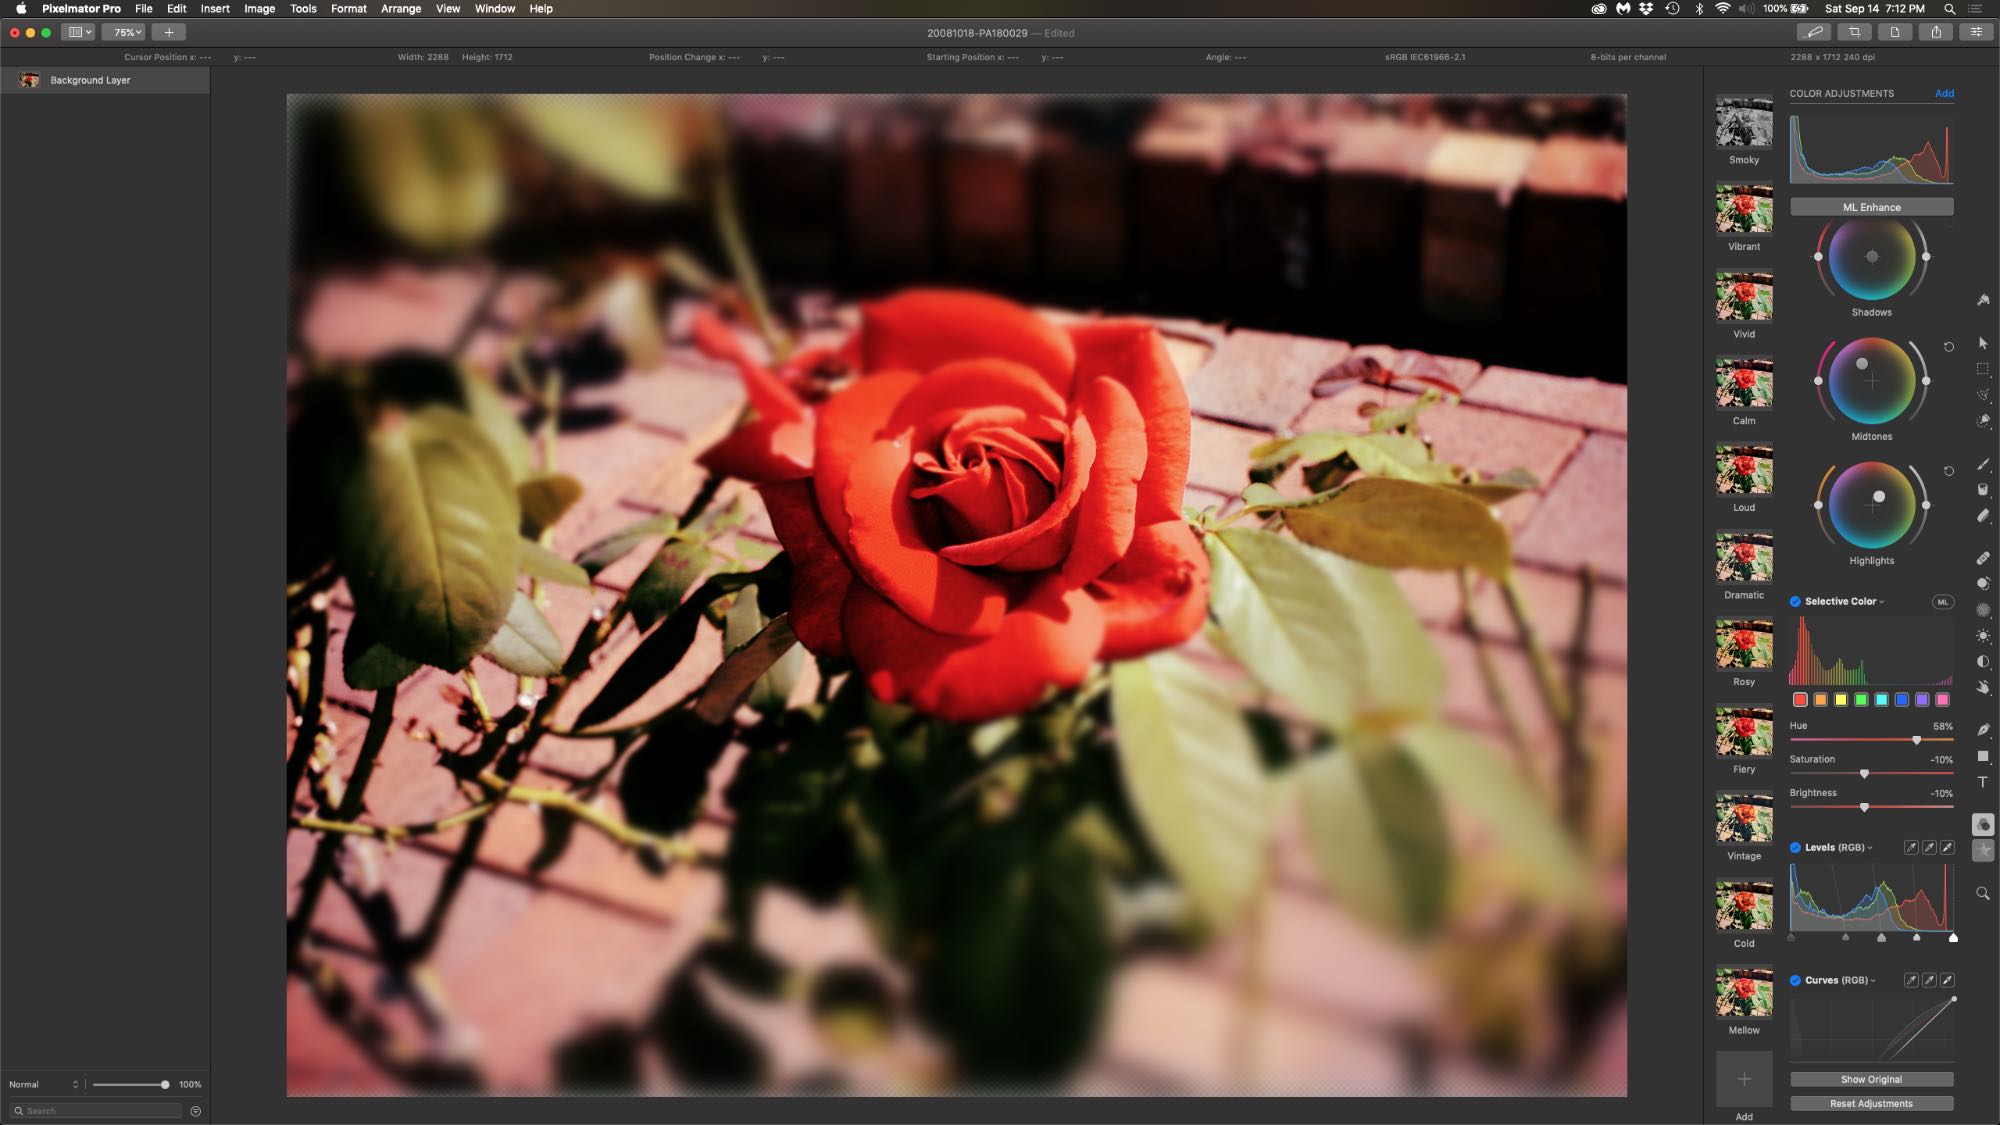
To wrap it up, don’t forget about some other useful tools. Even through you may use Photoshop, it’s still a good investment to add Pixelmator Pro and Affinity Photo. Each offers some graphics capabilities that Photoshop doesn’t. For example, Photoshop no longer supports certain font types as editable text within .PSD files. However, Affinity Photo can edit these, which helps with legacy files.
You are probably using either Apple Compressor or Adobe Media Encoder to batch-encode camera footage, generate files for review, and create web deliverables. Yet, there are still formats that these skip. One solution is the free (donation requested) Shutter Encoder. Two other applications in my video player toolkit include the free VLC – an all-purpose media player – and Telestream Switch. The latter is a bit pricey, but is my go-to application for detailed video analysis and QC. It can also transcode single video files when needed. Finally, if you do a lot of work with batches of files, Better Rename is one of my most-used applications.
OK, there you have the round-up to build a powerful, yet minimalist cutting room from the ground up. Remember that minimalist does not mean cheap. Heck, I’d venture to guess that if you max out this list, you might be pushing $35K. This is an investment in your business and future, so bite off what makes sense now and leave the rest for later. In any case, enjoy the holidays and maybe this rundown will give you some ideas as to what to put on the wishlist for Santa!
©2021 Oliver Peters
